

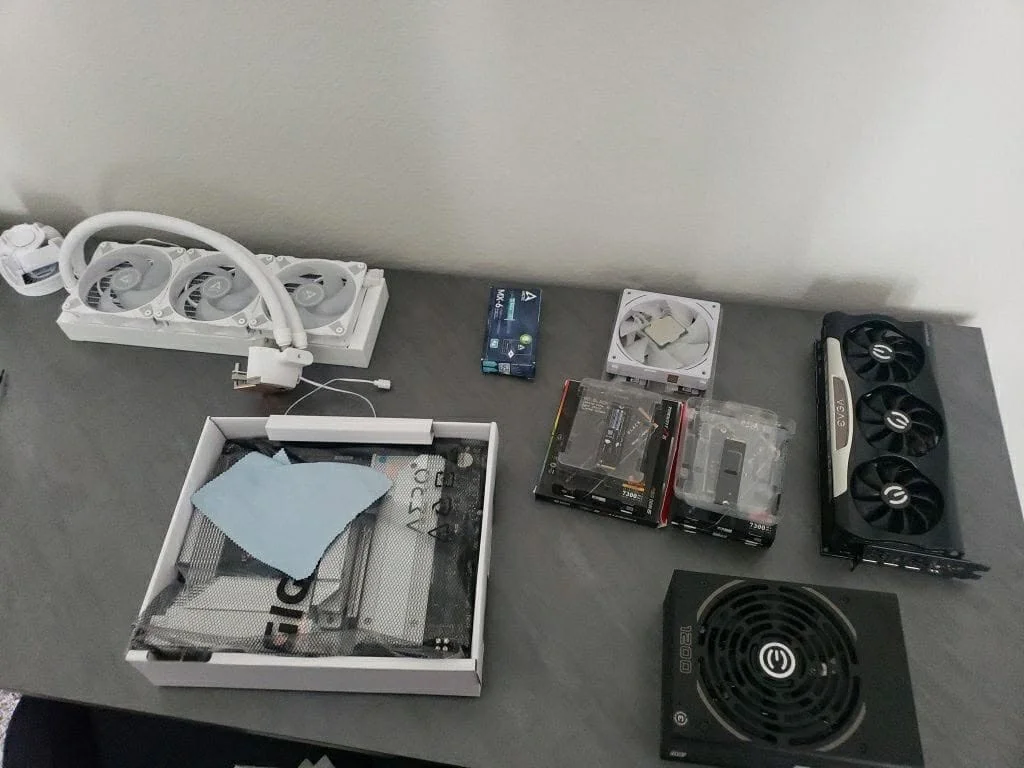
Testing a PSU has two levels: the paperclip test confirms it turns on by briefly bridging two pins on the 24-pin connector, while a multimeter checks whether voltage output on each rail falls within acceptable range. The paperclip test only proves the fan spins, not that the PSU is healthy under load.
- The paperclip test only confirms the PSU turns on, not that it’s healthy.
- A multimeter test checks actual voltage accuracy on each rail.
- Voltages should stay within about 5% of their rated value.
- A PSU tester tool is safer and easier than the paperclip method for most people.
The Paperclip Test
- Unplug the PSU from the wall and disconnect it from all components, following safety guidance from iFixit.
- Locate the 24-pin ATX connector and find the green wire (PS_ON) and any black wire (ground).
- Bend a paperclip into a U-shape and insert both ends into the green pin’s slot and an adjacent black pin’s slot on the connector, with the PSU unplugged from the wall.
- Plug the PSU into the wall and flip its rear switch on. The fan should spin up immediately if the PSU powers on.
This test only confirms the PSU produces some output and the fan responds; it says nothing about whether the voltages are accurate or stable under real load.
Testing With a Multimeter
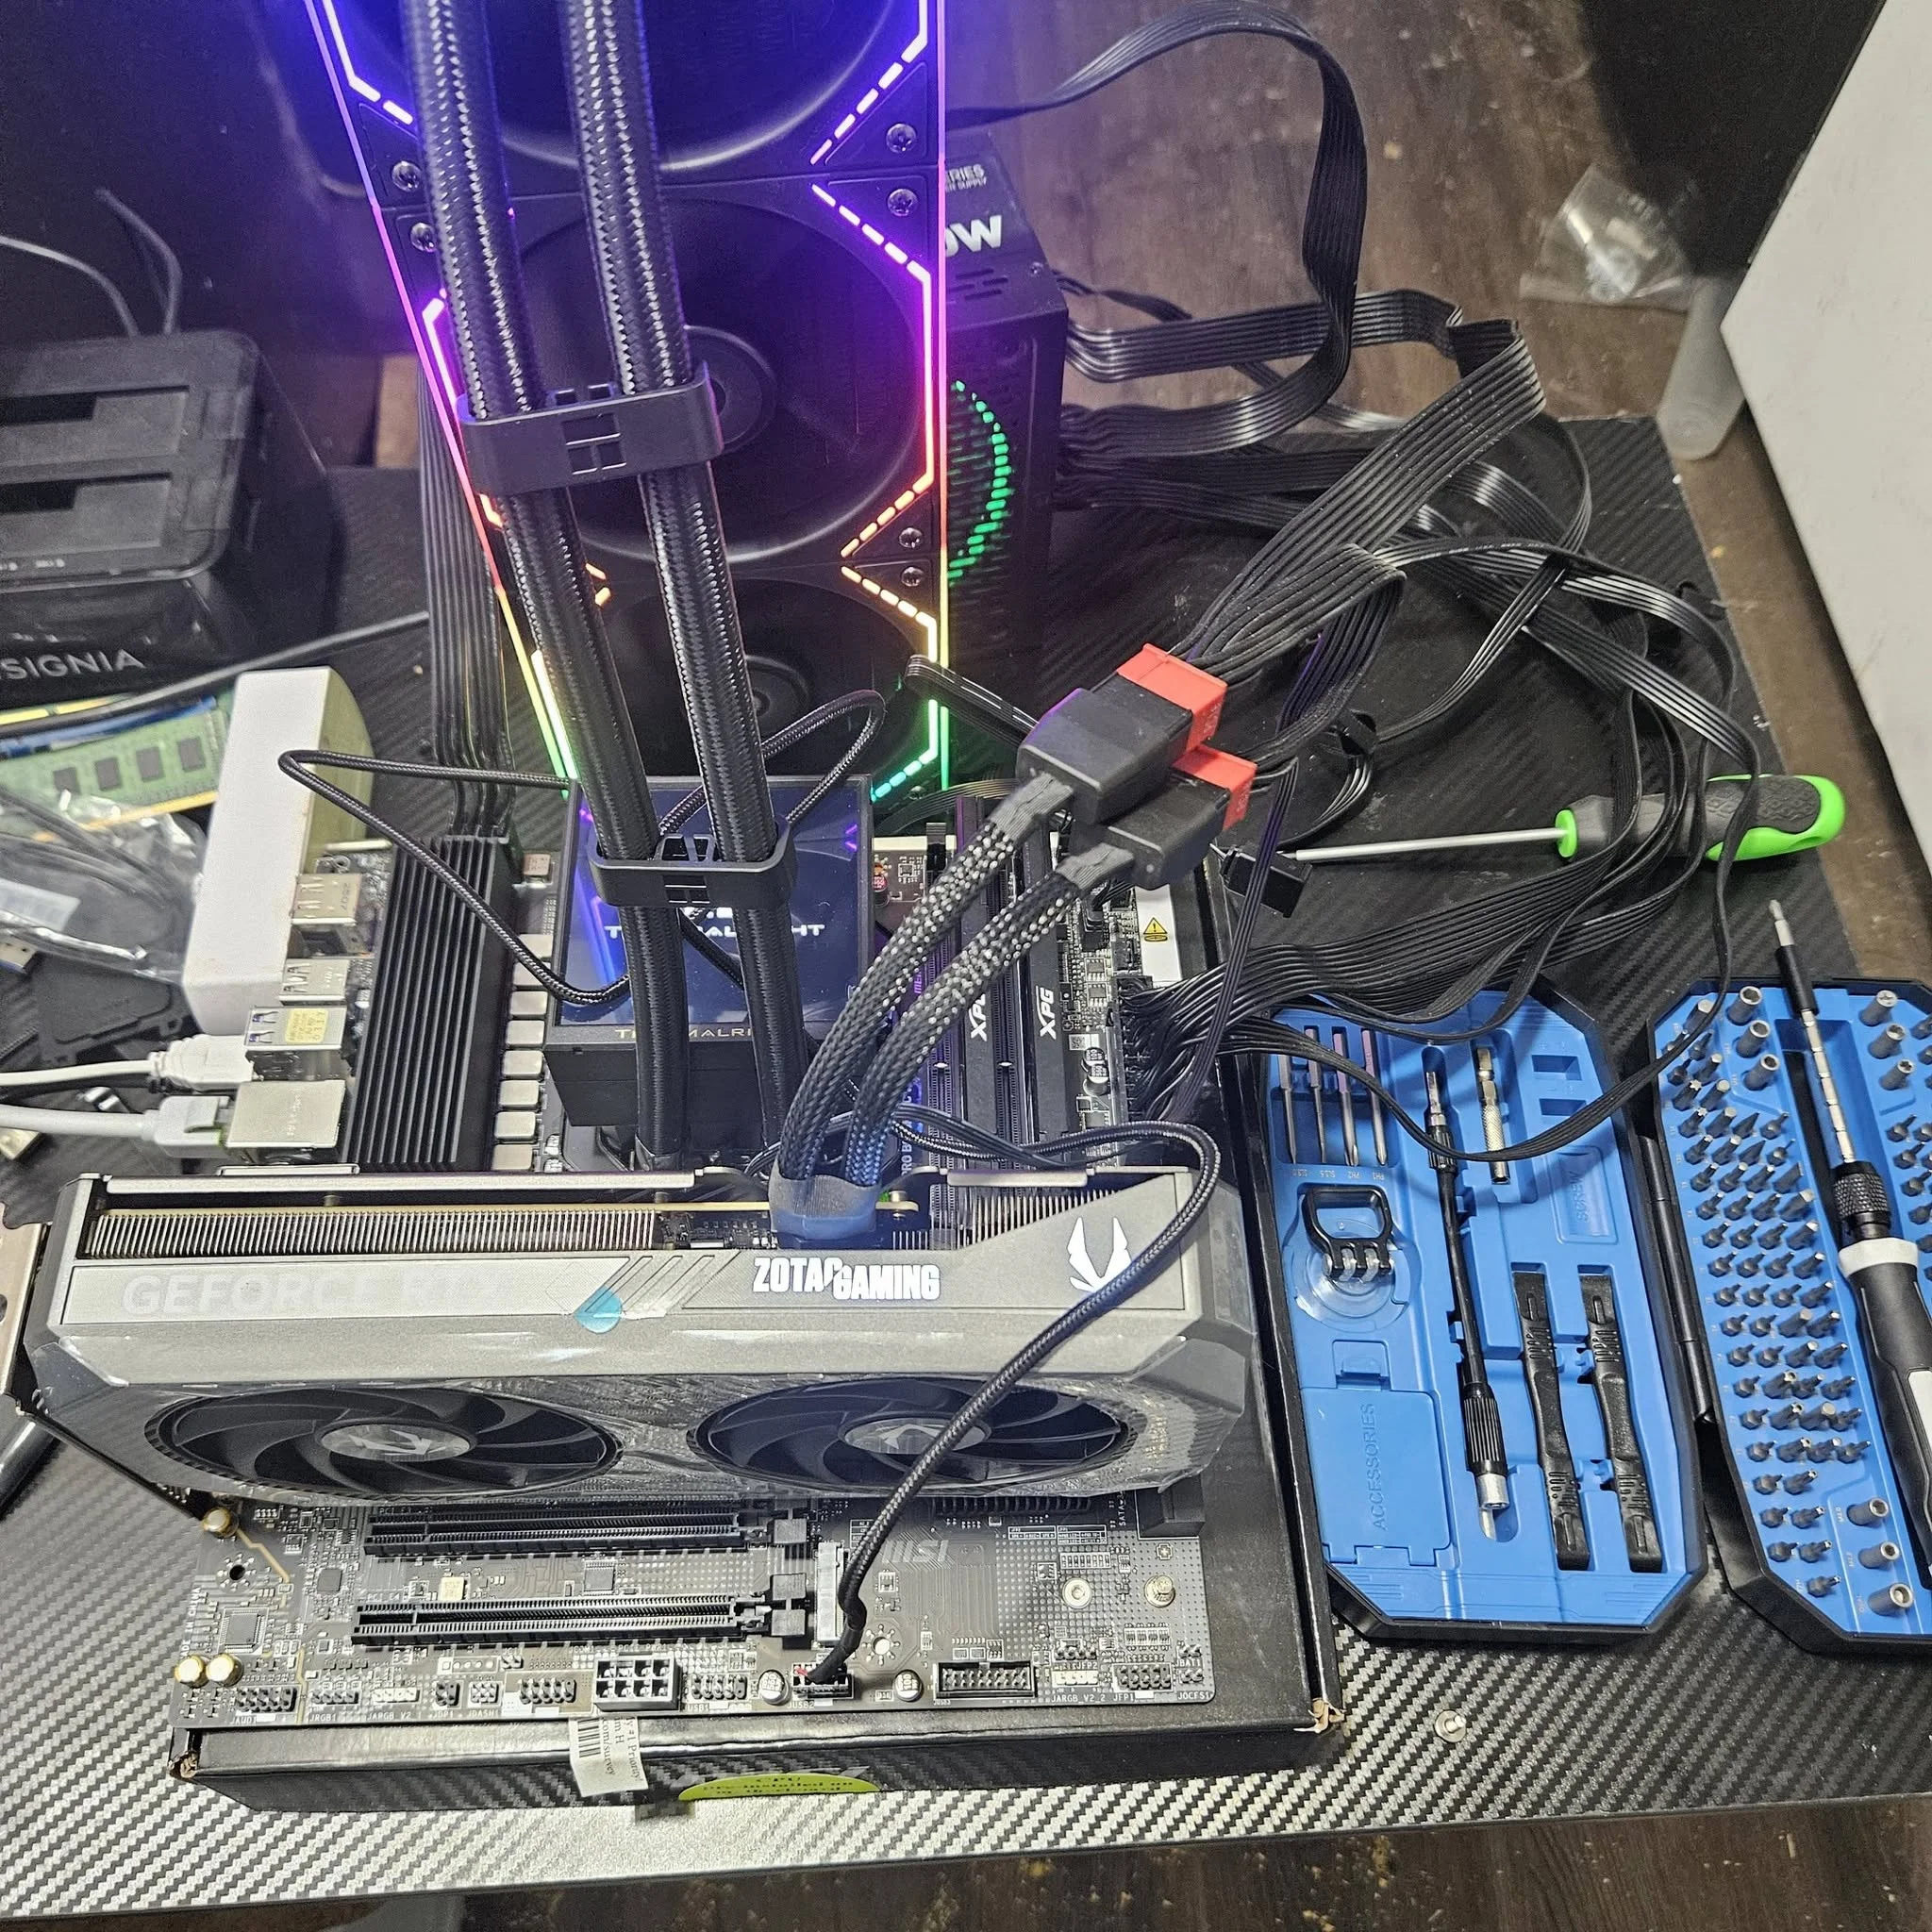
With the paperclip bridging the PS_ON pin as above, use a multimeter set to DC voltage to probe specific pins on the 24-pin connector against a ground pin. Compare readings against the standard values referenced by Tom’s Hardware: 12V, 5V, and 3.3V rails should read within roughly 5% of their rated value. Readings noticeably outside this range suggest a failing or already unstable PSU.
Using a Dedicated PSU Tester
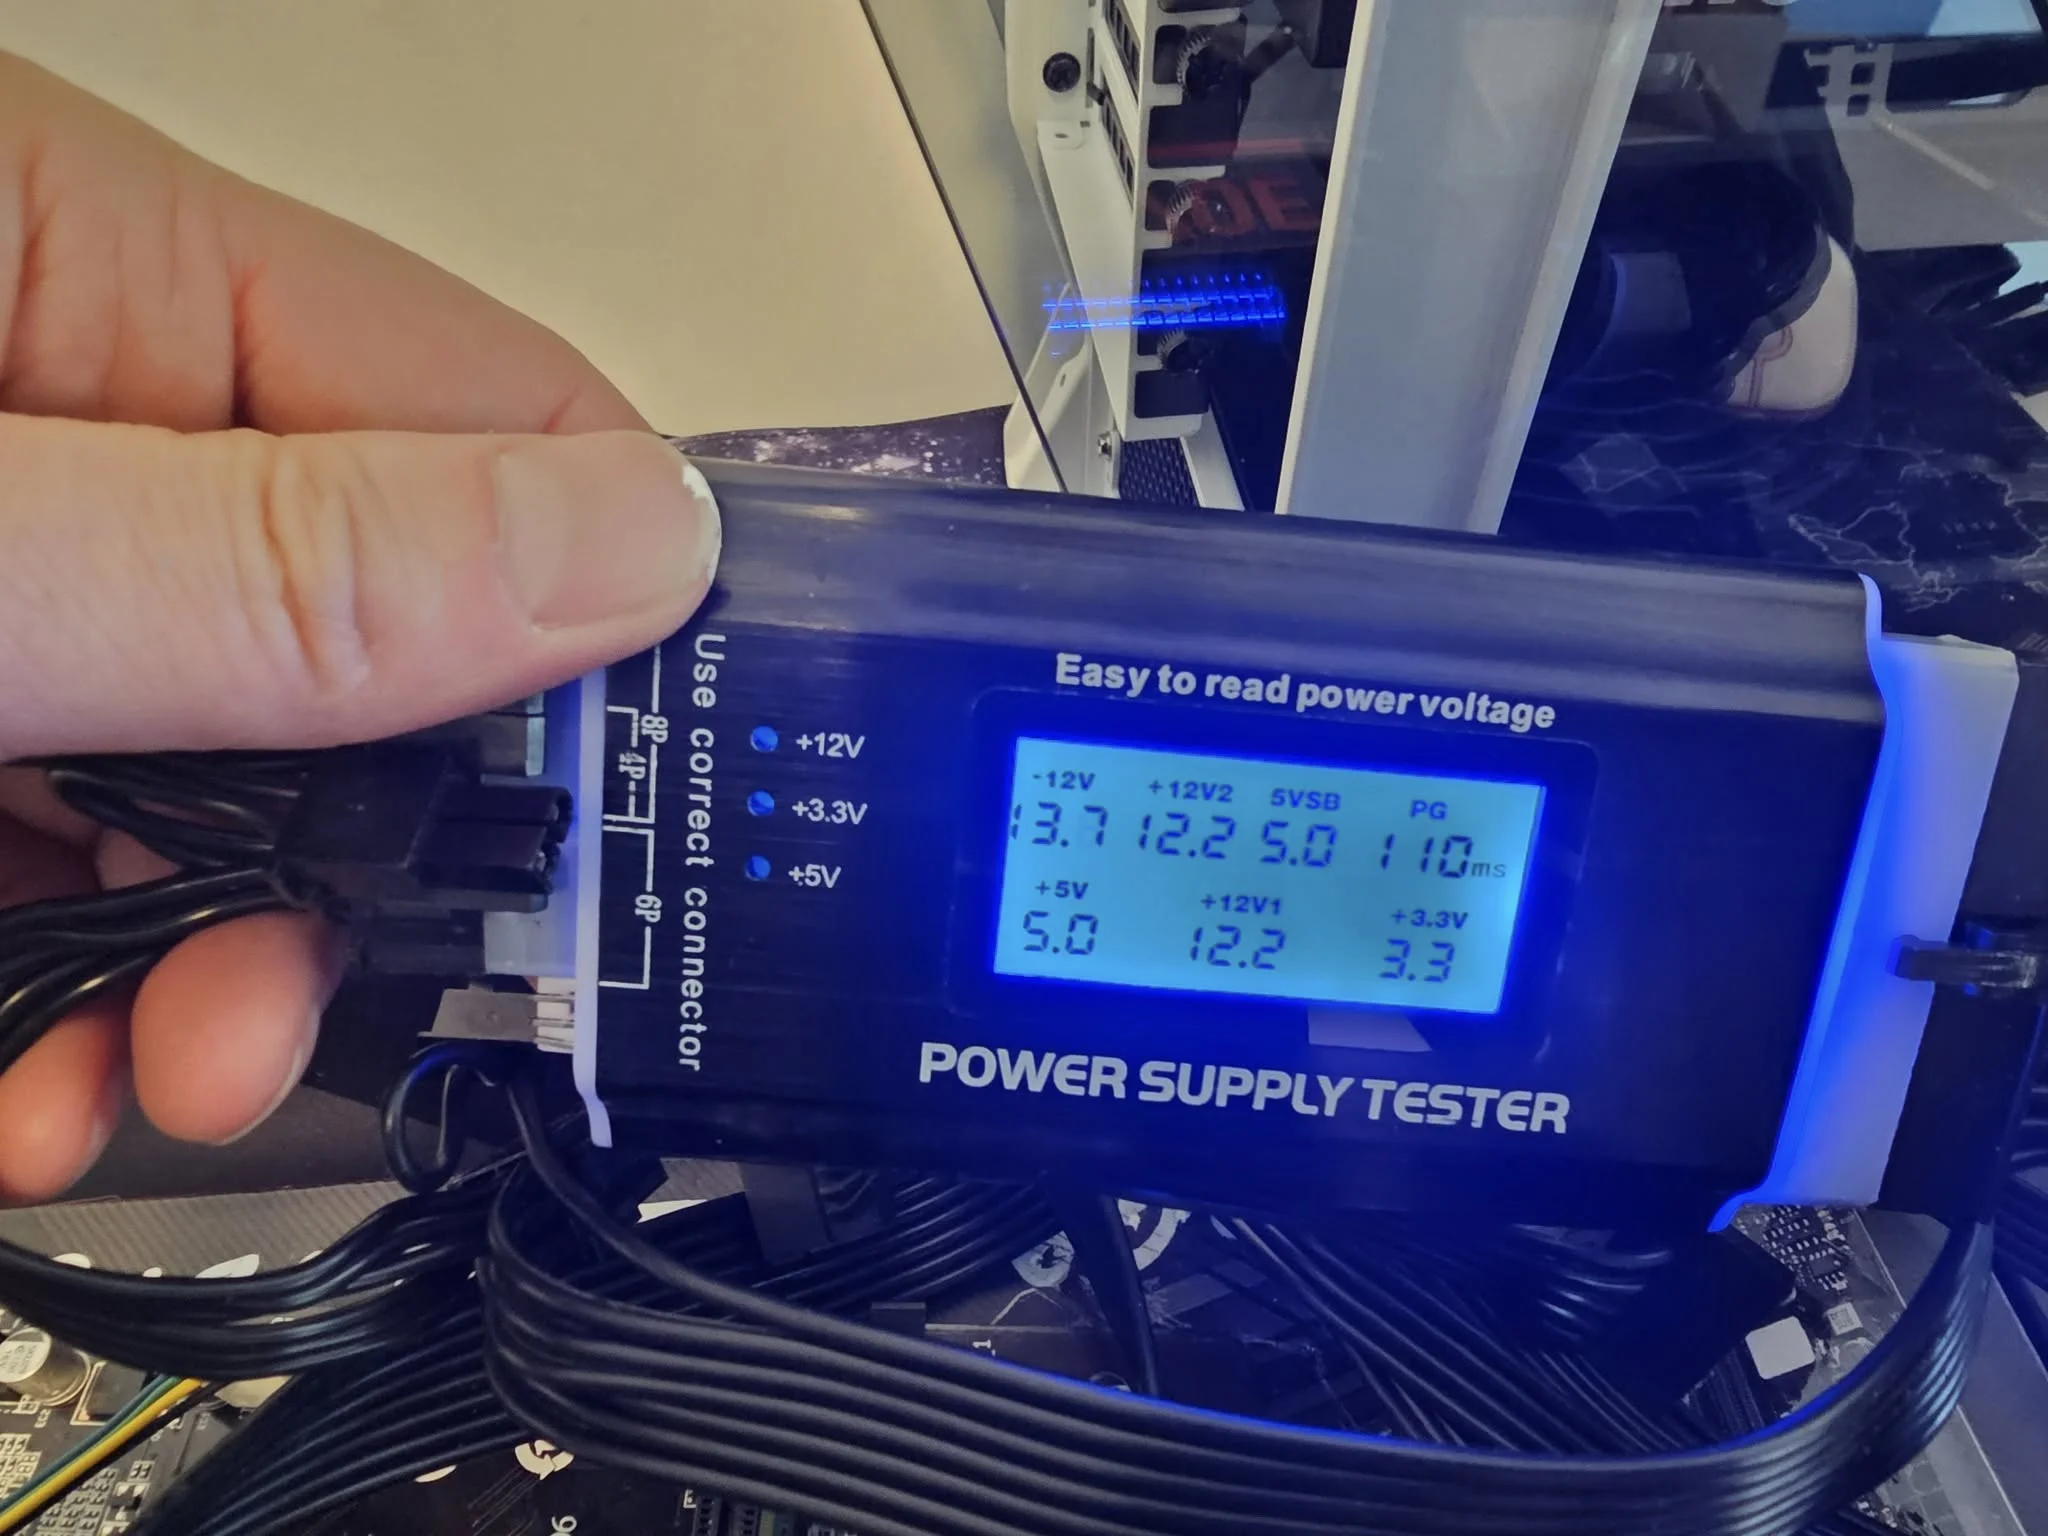
A dedicated PSU tester, a small inexpensive device sold specifically for this purpose, is safer and far easier than the paperclip method for most people, since it plugs directly into the 24-pin and other connectors and displays pass/fail status and voltage readings on a small screen without exposing you to bare pins.
What a PSU Test Won’t Catch
Both methods test the PSU at idle or with minimal load, not under the sustained heavy draw of gaming or intensive workloads. A PSU that passes a basic test can still fail or become unstable specifically under load, which is why persistent crashes during gaming despite a passing basic test still point toward signs of a failing power supply worth investigating further.
Signs You Should Test Your PSU
- The PC won’t power on at all, following the broader checklist in PC won’t boot checklist
- Random shutdowns or restarts under load, similar to PC randomly restarts
- A burning smell or visible damage, which warrants immediate replacement rather than testing
Safety warning: never open a power supply’s case to test internal components directly, since capacitors inside can hold a dangerous charge even after being unplugged. All testing described here works through the external connectors only.
See also testing methodology from Gamers Nexus for a deeper look at PSU load testing equipment.
Frequently Asked Questions
Does the paperclip test prove my PSU is good?
No, it only confirms the PSU powers on and the fan spins. It doesn’t verify voltage accuracy or stability under load.
Is a multimeter test more reliable than the paperclip test?
Yes, since it measures actual voltage output against expected values, though it still only tests at idle rather than under real load.
Is it safe to do the paperclip test myself?
Generally yes if done carefully with the PSU disconnected from all components, though a dedicated PSU tester is safer and easier for most people.
Why did my PSU pass a test but still cause crashes?
Basic tests check idle behavior, not performance under sustained heavy load, where marginal PSUs often fail even after passing a simple test.
