

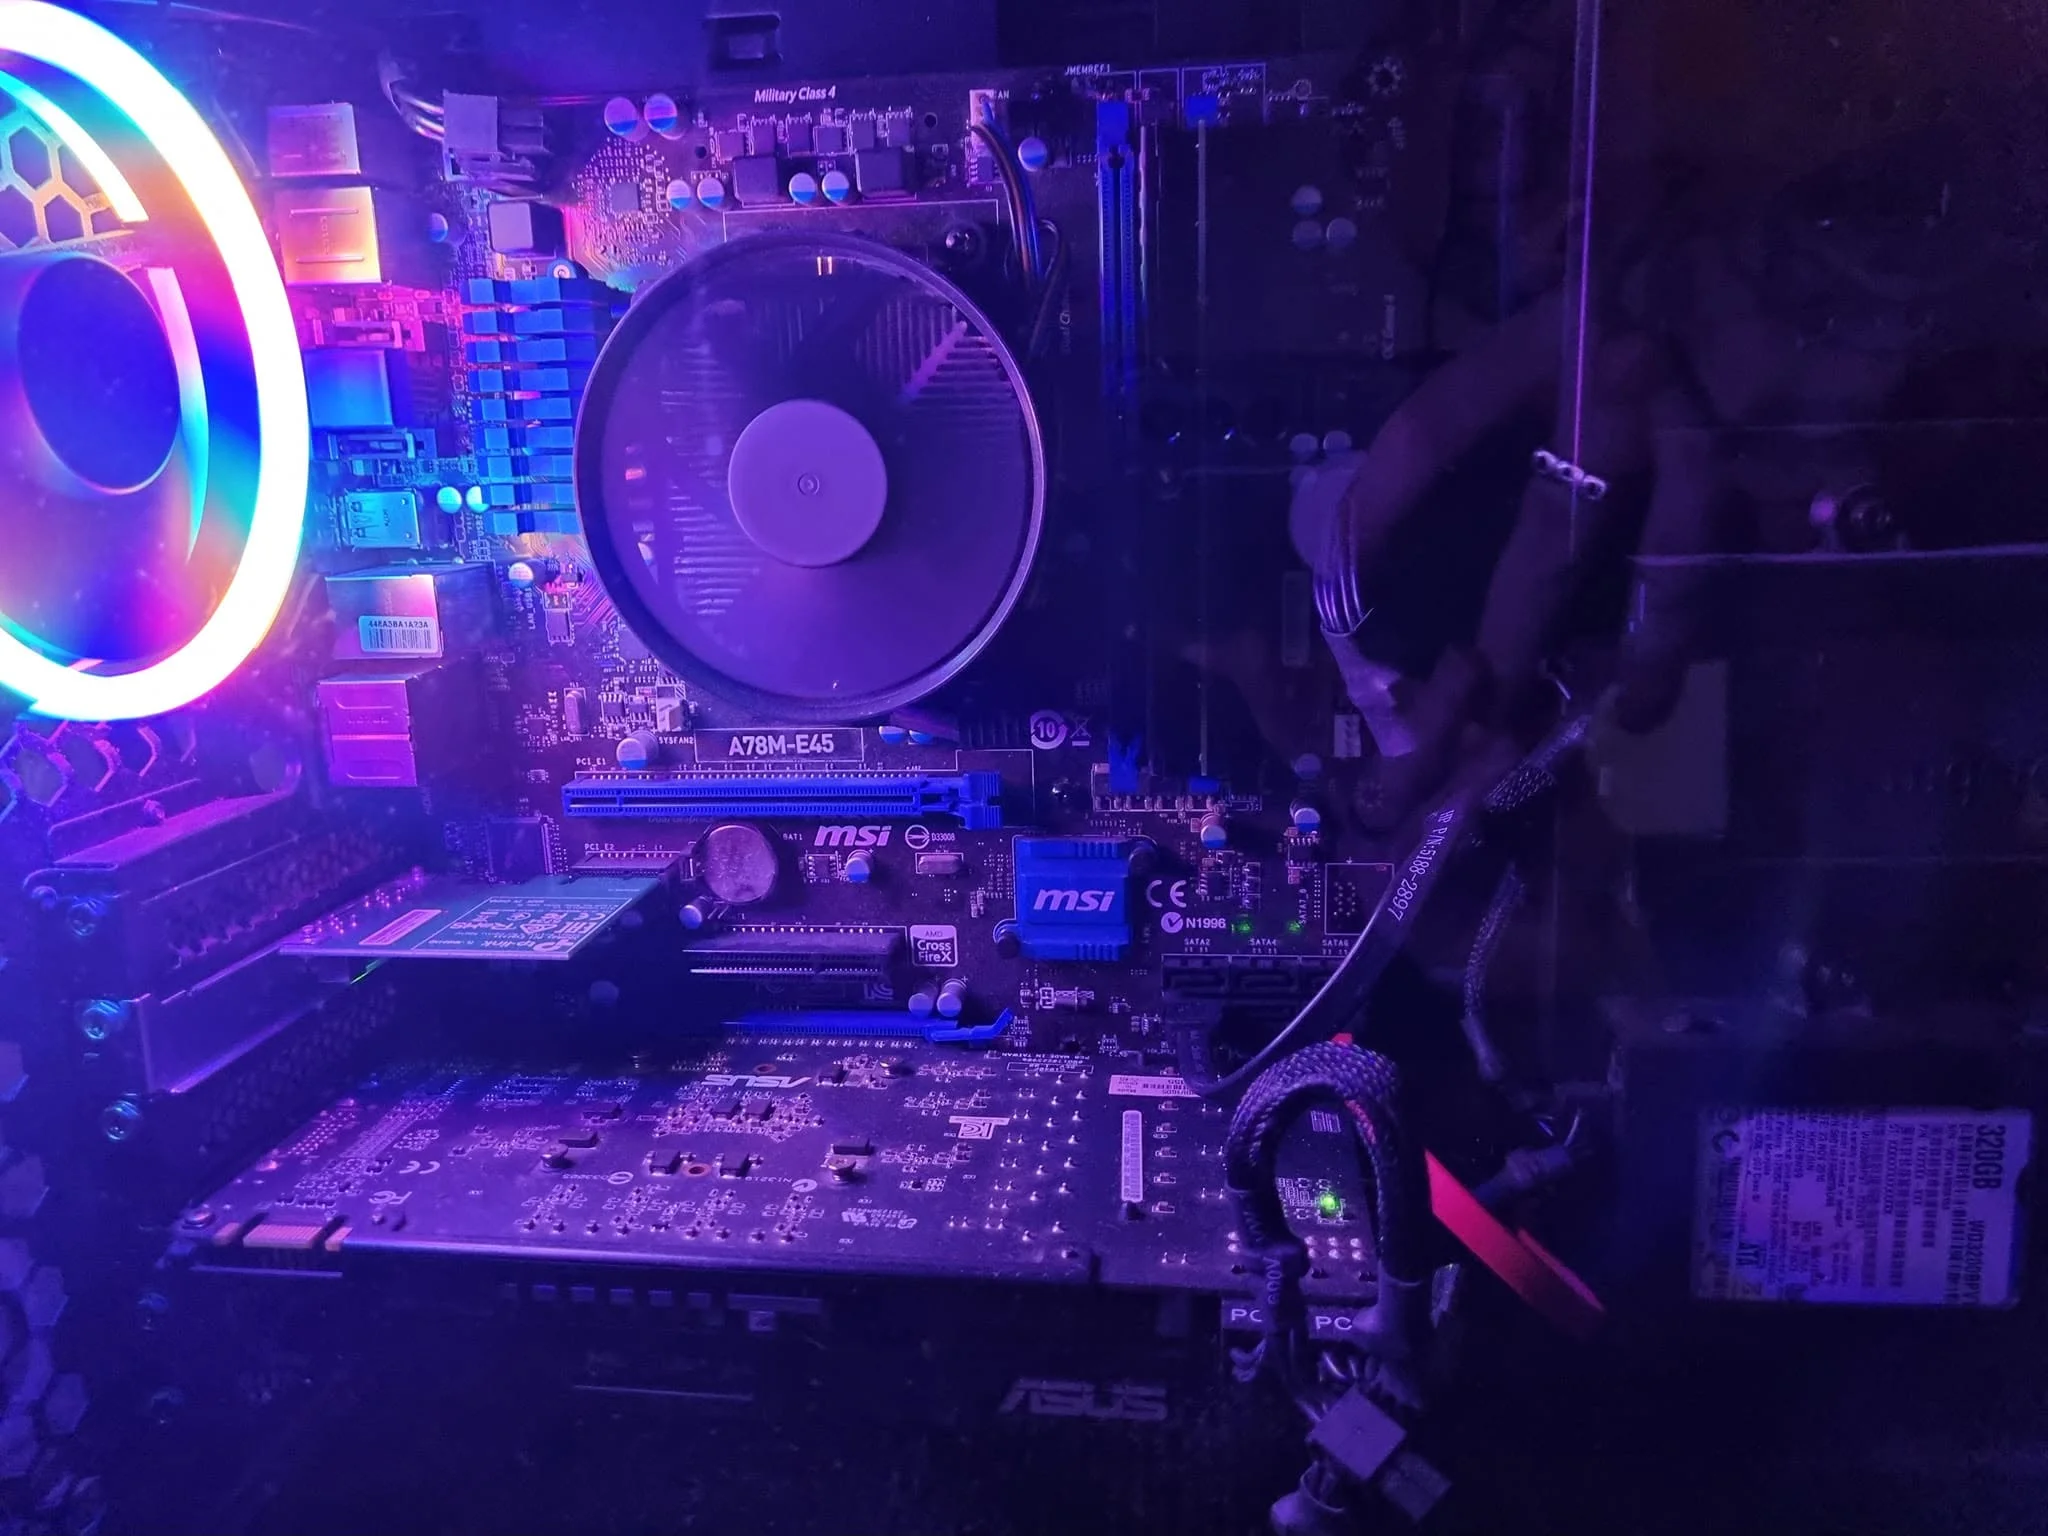
A motherboard with absolutely no power, no lights, and no fan movement usually points to the power supply, its cables, or the front panel power switch wiring, rather than a dead board itself. Check the power supply’s own switch and cable first, then the main 24-pin connector and the power button wiring, before assuming the motherboard has failed.
- Check the power supply’s rear switch and wall cable first.
- Confirm the 24-pin connector is fully seated on the motherboard.
- A miswired power switch can look exactly like total failure.
- A power supply tester or paperclip test isolates the PSU itself.
Step 1: Check the Power Supply
- Confirm the rear rocker switch on the power supply is set to on, not off
- Check the wall outlet works with another device, and try a different outlet
- Confirm the power cable itself isn’t damaged, and try a different cable if available
Step 2: Check the Main Power Connectors
Power off, unplug, and confirm the 24-pin motherboard connector and the CPU’s 8-pin (or 4+4 pin) connector are both fully seated, not just partially clicked in. A connector that looks seated but isn’t fully locked is a surprisingly common cause of total silence.
Step 3: Check the Power Switch Wiring
A miswired or disconnected front panel power switch can make a perfectly healthy system look completely dead, since nothing ever tells it to turn on. See front panel connectors for the correct wiring, and try briefly shorting the two power switch pins directly with a screwdriver as a test, which bypasses the case button entirely.
Step 4: Test the Power Supply Independently
A basic paperclip test, described by PCWorld’s hardware guides, shorting the green wire to a black ground wire on the main 24-pin connector with the PSU unplugged from everything else, makes a healthy power supply’s fan spin on its own, confirming the PSU itself is producing power.
Step 5: Check for Bulging Capacitors
Inspect the motherboard and, carefully, the power supply for any bulging capacitors, which point toward genuine component failure rather than a wiring or connection issue.
Warning: never open a power supply casually to test internals, as iFixit’s safety guides warn, since it can hold a dangerous charge even unplugged. The paperclip test works entirely from the outside and doesn’t require opening the unit.
Step 6: Test Outside the Case
If everything checks out but there’s still no response, test the motherboard outside the case on a non-conductive surface, similar to methods from Corsair’s troubleshooting guides, with the bare minimum of components, following the same approach as the general PC won’t boot checklist, to rule out a case-related short.
Frequently Asked Questions
How do I know if it’s the power supply or the motherboard?
A paperclip test on the power supply, done with it disconnected from everything else, confirms whether the PSU itself can produce power independently.
Can a miswired power switch cause total silence?
Yes. If the front panel power switch isn’t wired to the correct header pins, the system never receives the signal to turn on at all.
Should I check the CMOS battery if there’s no power at all?
A dead CMOS battery affects settings and clock retention, not whether the board powers on at all, so it’s a lower priority than checking cables first.
What if the power supply fan spins during the paperclip test but the PC still won’t turn on?
The PSU is likely fine, so focus on the motherboard’s power connectors, front panel wiring, and checking for a short from an incorrectly placed standoff.


