Installing a power supply involves mounting it in the correct orientation for your case’s airflow design, securing it with screws, and then connecting the 24-pin motherboard cable, CPU power cable, GPU power cables, and any drive power cables needed for your build.
- Fan orientation depends on your case design and whether it has a bottom vent.
- Secure the PSU with all four screws before connecting any cables.
- Connect the 24-pin and CPU cables to the motherboard first.
- Route cables through the back of the case for cleaner airflow if possible.
Step 1: Determine Fan Orientation
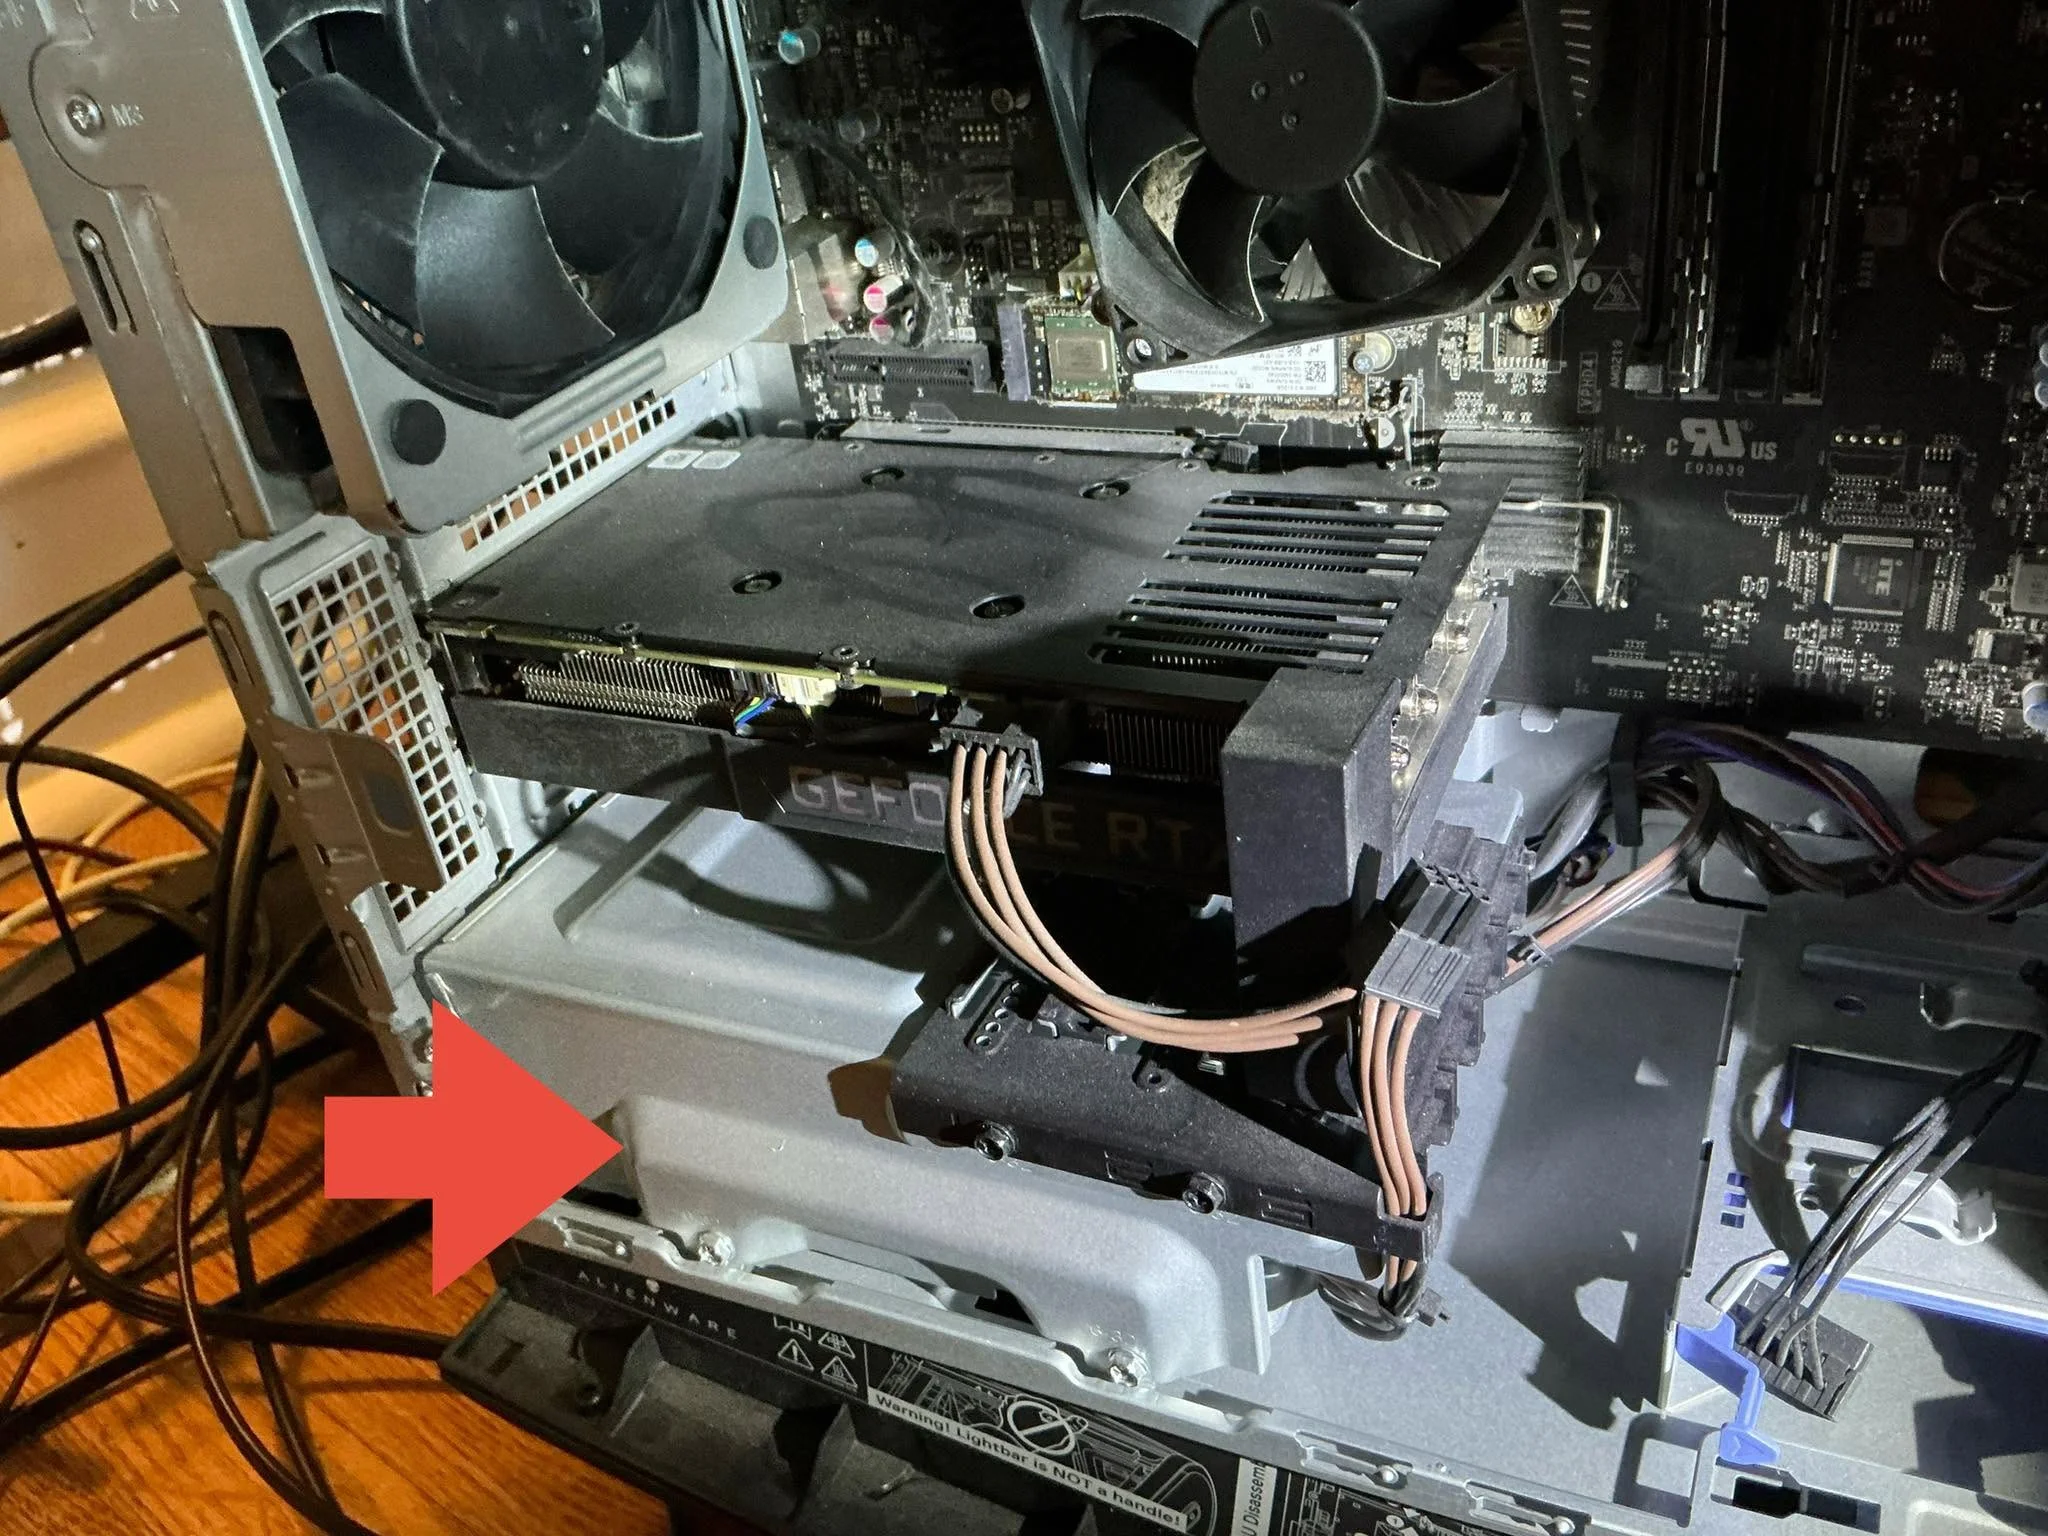
Most modern cases have a PSU mounting bay at the bottom with a vent underneath, in which case the fan should face downward, drawing in fresh air from outside the case rather than recycling warm air already inside it. Older or unusual case designs without a bottom vent may require the fan facing upward into the case interior instead; check your specific case’s design before installing.
Step 2: Mount and Secure the PSU
- Slide the PSU into its mounting bay, typically at the bottom rear of the case.
- Align the four screw holes on the back of the case with the PSU’s mounting holes.
- Secure all four screws before proceeding, since an unsecured PSU can shift during cable routing.
Step 3: Connect the 24-Pin Motherboard Cable
Connect the large 24-pin connector to the matching slot on the motherboard, following the general layout in how to install a motherboard. It’s keyed to only fit one orientation.
Step 4: Connect the CPU Power Cable
Connect the 4+4 or 8-pin EPS cable to the CPU power connector near the top of the motherboard, close to the CPU socket. Check your specific board for whether it requires one or two of these connectors.
Step 5: Connect GPU Power Cables
Once your graphics card is installed, following how to install a graphics card, connect the appropriate PCIe power cables, or the 12VHPWR cable if your GPU uses one, per what is 12VHPWR.
Step 6: Connect Drive and Peripheral Cables
Connect SATA power cables to any SATA SSDs or hard drives, and any additional cables your case fans, RGB controllers, or front panel features require, referencing your case’s manual for specific header locations.
Step 7: Route Cables for Airflow
If your case has a cutout for routing cables behind the motherboard tray, use it, following general cable management practices similar to those in PC build order. Clean routing improves airflow and makes future maintenance easier.
Safety reminder: always ensure the PSU’s rear power switch is off and it’s unplugged from the wall before making or changing any internal connections.
See also part diagrams from TechPowerUp, safety guidance from iFixit, and community build photos on r/buildapc.
Frequently Asked Questions
Which way should the PSU fan face when installed?
In most modern cases with a bottom vent, the fan should face downward to draw in fresh outside air rather than recycling warm case air.
Should I connect all cables before or after mounting the PSU?
Mount and secure the PSU with all screws first, then connect cables, since an unsecured PSU can shift during cable routing.
What if my PSU doesn’t have a modular cable I need?
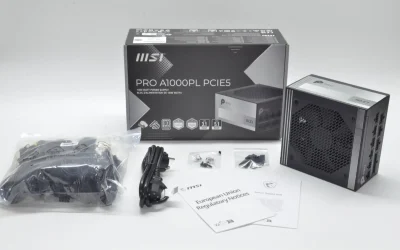
Check your PSU’s included accessory bag, since some cables ship in a separate small pouch rather than pre-attached.
Do I need to route cables behind the motherboard tray?
It’s not strictly required, but it improves airflow and makes the build look cleaner if your case supports it.