

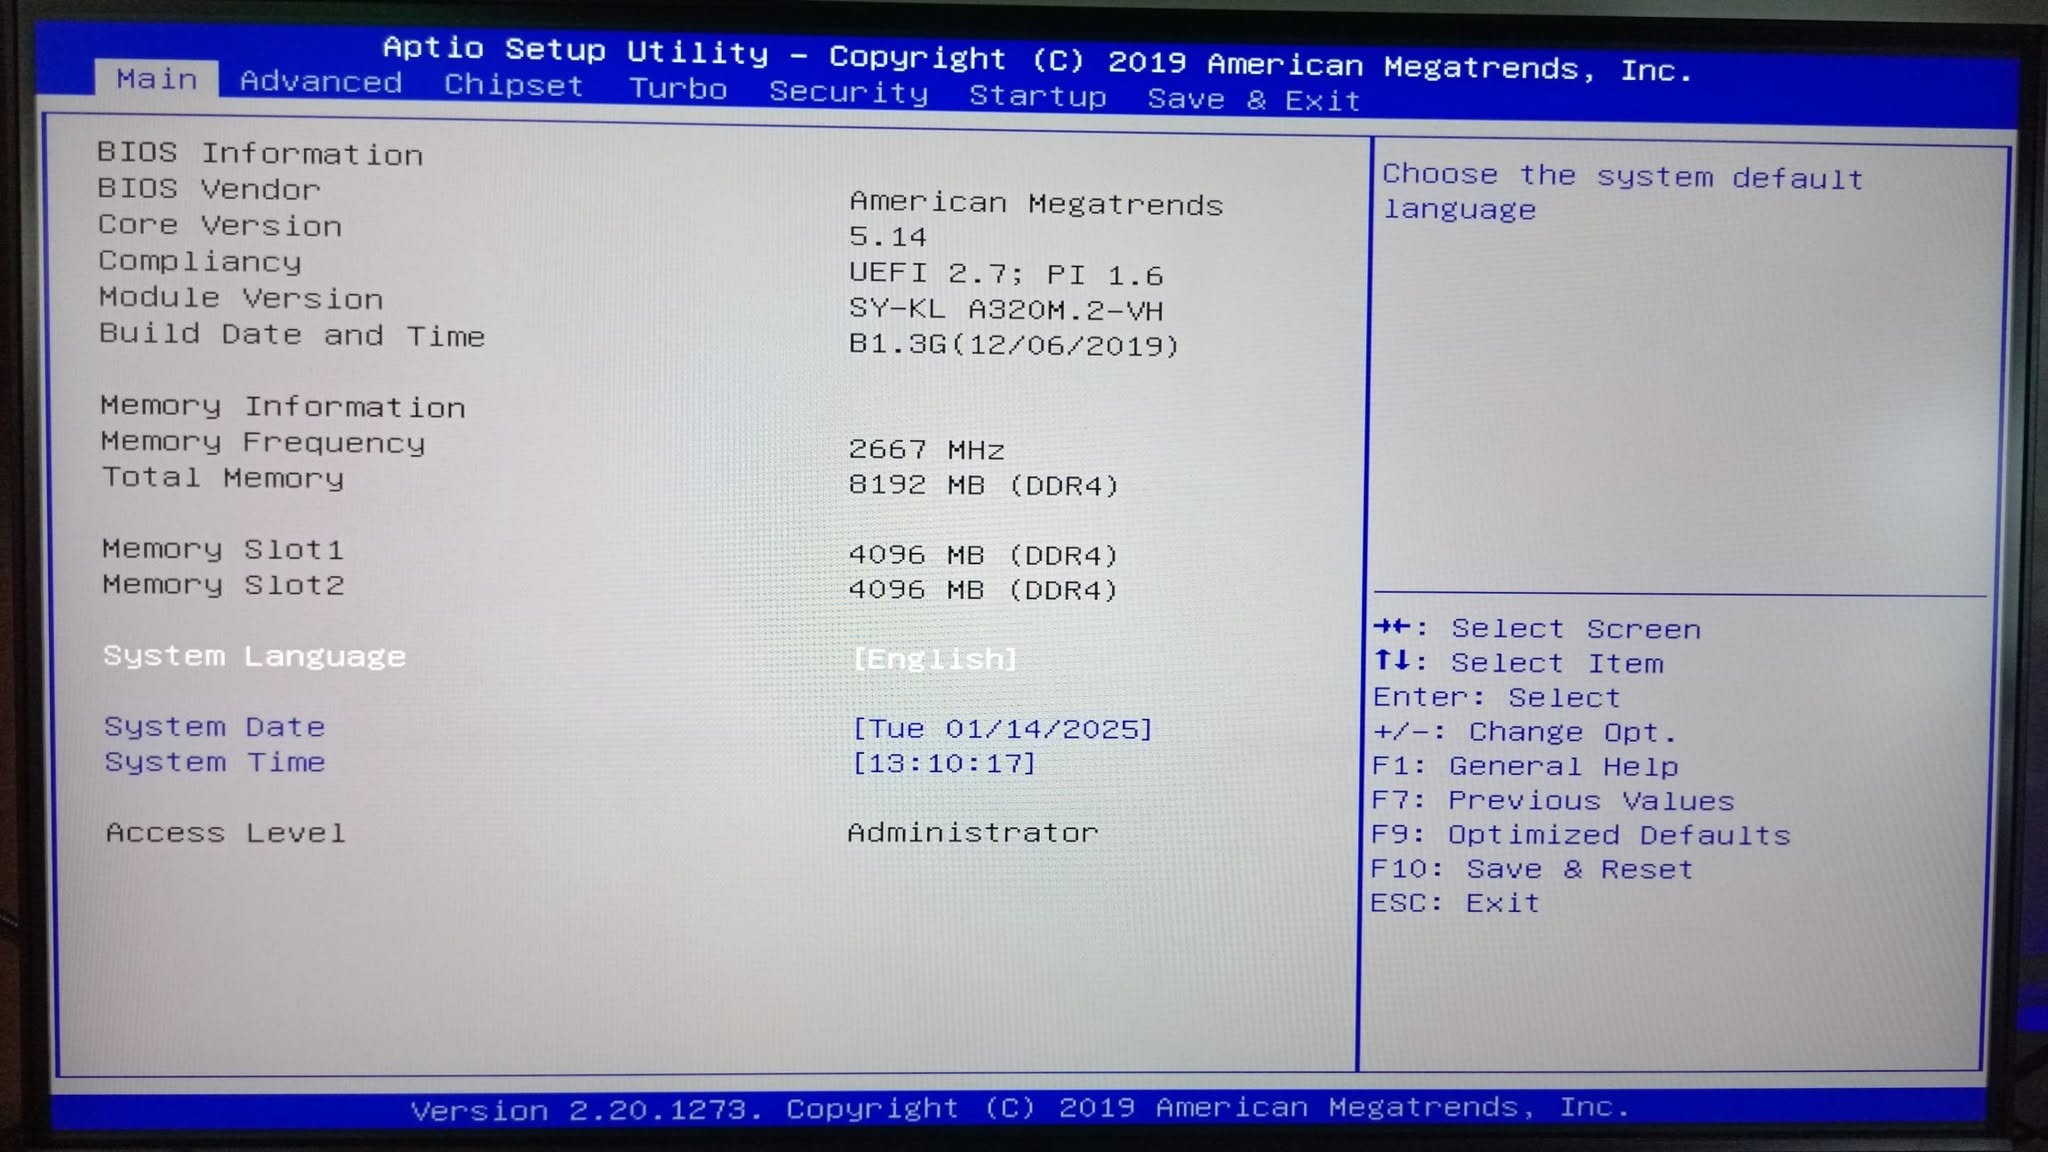
To update your motherboard BIOS, find your exact board model, download the matching BIOS file from the manufacturer’s support page, copy it to a USB drive, and flash it using the board’s built-in flashing tool. Reasons to update range from fixing bugs and improving stability to adding support for newer RAM speeds or security patches.
- Updates can fix bugs, improve stability, and add new features.
- Always download the exact file matching your specific board model.
- Use the board’s built-in flashing tool rather than doing it from Windows.
- Never interrupt the flash once it has started.
Reasons to Update Your BIOS
- Fixing known bugs or stability issues reported by other users
- Adding support for a newer CPU generation, covered specifically in how to update CPU BIOS
- Improving compatibility with faster RAM kits
- Patching security vulnerabilities in the firmware
- Fixing specific hardware compatibility issues named in the changelog
If you’re updating specifically to support a new CPU, see the CPU-focused guide instead, since the steps overlap but the emphasis differs slightly.
Step by Step
1. Identify your exact motherboard model
Check the board itself or use what motherboard do I have to confirm the precise model and revision number.
2. Download the correct BIOS file
Go to your manufacturer’s support page, such as ASUS Support or MSI Support, and download the file matching your exact model and revision.
3. Read the changelog
Check what each version between your current one and the target actually fixes or changes, so you know whether the update addresses your specific concern.
4. Copy it to a USB drive
Format a USB drive as FAT32, following guidance similar to Gigabyte Support, extract the download if zipped, and place the BIOS file at its root.
5. Flash using the built-in tool
Enter the BIOS and find the flashing utility, often named EZ Flash, Q-Flash, or M-Flash depending on the brand, then select your file and confirm.
6. Let it finish completely
Don’t power off, reset, or remove the USB drive until the process confirms completion and the system restarts on its own.
Warning: interrupting a BIOS flash can leave the motherboard unable to boot. A stable power source, or a UPS if you’re concerned about outages, adds an extra layer of safety.
After Updating
Check the new BIOS version on the main screen to confirm it applied, and reconfigure any custom settings, since a BIOS update sometimes resets them to default, similar to a CMOS reset. Re-enable XMP if it was previously on.
Frequently Asked Questions
Do I need to update my BIOS regularly?
No. Update when you have a specific reason, such as a new CPU, a known bug fix, or a security patch, rather than on a routine schedule.
Will a BIOS update erase my files?
No. It only affects motherboard firmware and settings, not your operating system, programs, or personal files.
Is BIOS flashing risky?
It carries some risk if interrupted, but following the steps carefully and not interrupting the process makes it a routine, low-risk task for most users.
What happens if my BIOS update fails?
Many current boards include a backup BIOS or dual BIOS feature that recovers automatically. Check your motherboard’s manual for its specific recovery method.
